

Chapter 7 - Canva Effects & Advanced Editing
The Background Remover tool is one of Canva’s most powerful features — and one of the biggest time-savers for creators.
With a single click, you can isolate a subject, create clean cutouts, build layered effects, and transform even an ordinary photo into a professional-looking design.
In this lesson, you’ll learn how to remove backgrounds cleanly, refine the edges, use cutouts creatively, and apply best practices so your final design looks polished across every platform.
BACKGROUND REMOVER
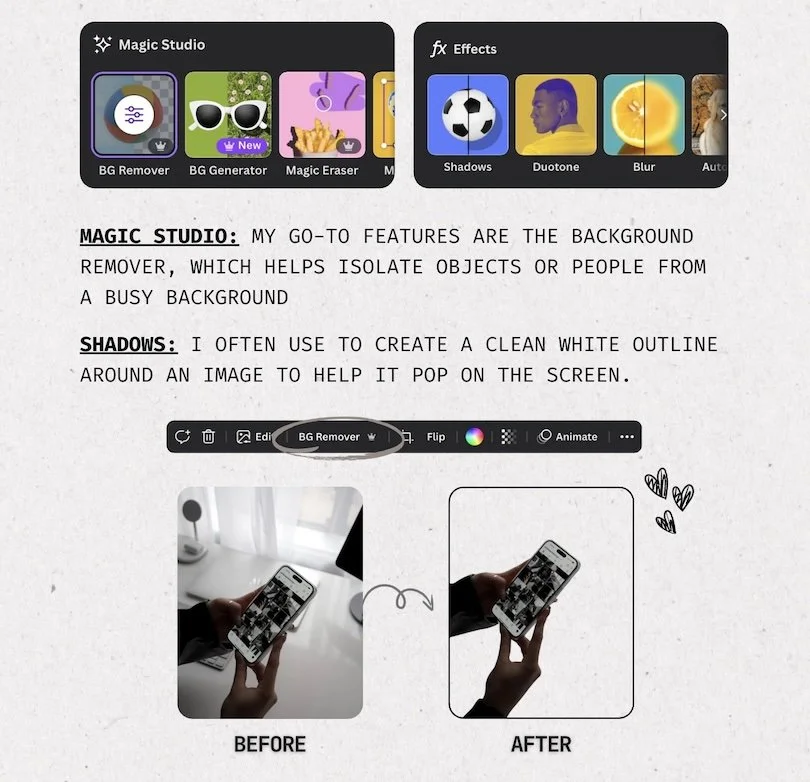
1. How to Use Background Remover
Background Remover is available to Canva Pro users and works for both photos and videos.
Step-by-step: Removing a background (Photo)
Click on your image to select it.
In the top toolbar, select Edit Photo.
Choose Background Remover.
Canva will automatically erase the background within a few seconds.
Your subject will now be isolated against a transparent background.
Removing backgrounds from video
Select the video clip.
Click Edit Video.
Select Background Remover (Beta).
Canva will process the clip and isolate your subject frame-by-frame.
Video background removal may take longer depending on clip length.
2. Refining Your Cutout (Erase & Restore Tools)
Even though Canva’s AI is extremely accurate, some images need manual touch-ups for a clean result.
Erase Tool
Use this to manually remove areas the AI missed:
Rough edges
Background details
Small leftover shadows
Objects in the frame
Restore Tool
Use this to bring back parts of the image that were accidentally removed:
Hair strands
Clothing edges
Hands / fingers
Props you want included
Pro Tip: Zoom in when editing — the more precise the cutout, the more premium and professional the design looks.
-
Personal Instagram Page: @caitlinaarmstrong
Personal TikTok Page: @caitlinaarmstrong_
The Social Voice Instagram: @socialvoice.co
Website: https://www.thesocialvoiceco.com