

Chapter 9 - Exporting Designs
Exporting correctly is one of the most important steps in the design process.
In this lesson, you’ll learn how to save your graphics, carousels, and videos in the highest quality for Instagram, TikTok, Pinterest, websites, and digital products — without blurriness, compression issues, or stretched images.
EXPORTING & SAVING
1. Export Settings for Images
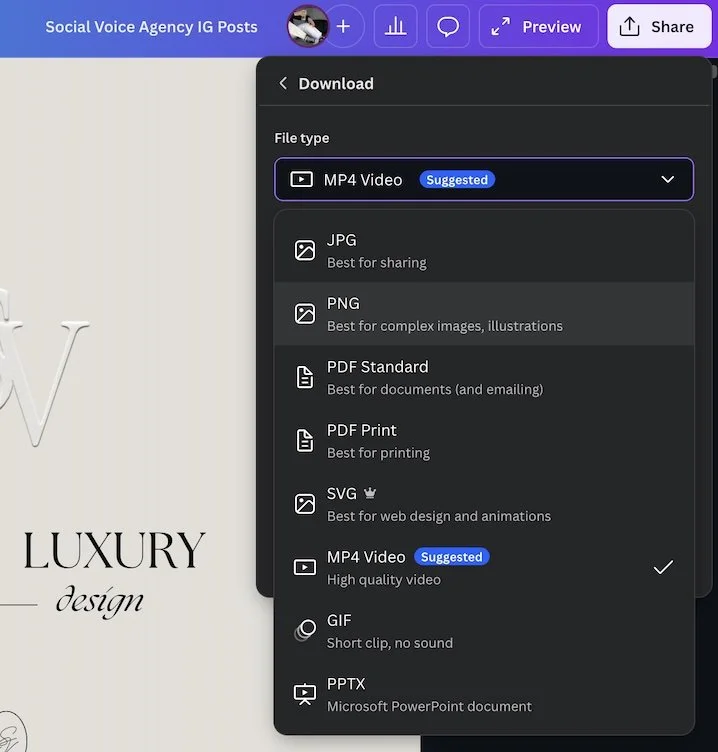
PNG — best for Instagram, graphics, covers, and designs needing sharp text
JPG — best for compressed, lightweight images such as blog posts or listings
Transparent PNG — for logos, watermarks, or overlays (pro feature)
2. Export Settings for Social Media Videos
MP4 — best for reels, TikToks, animations, video graphics
1080p resolution — recommended for all social media
FPS settings (24/25/30fps depending on smoothness) 30fps recommended
3. Downloading Multi-Page Documents
A. Exporting Full Carousels
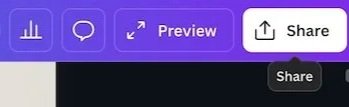
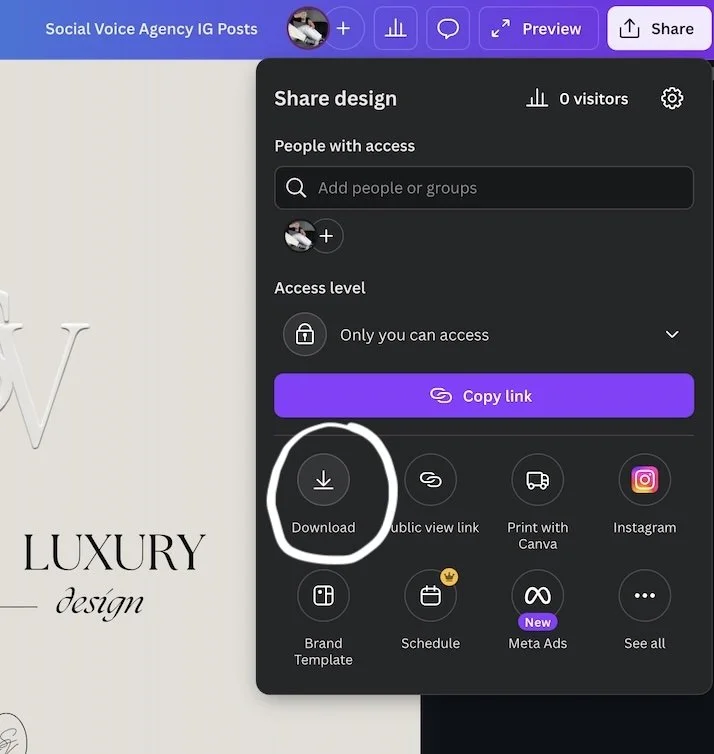
Click Share → Download.
Select your file type (PNG recommended for carousels).
Under Select Pages, choose All Pages.
Download and Canva will export a zip file containing each page separately.
B. Choosing Specific Pages
In the download window, click Select Pages.
Check only the pages you want.
Download just those slides — perfect for updating one carousel page.
C. Compressing PDFs for Print or Digital Use
Choose PDF Standard for digital use.
Choose PDF Print for high-quality printable designs.
Enable Flatten PDF if needed (prevents shifting).
Adjust compression if file size is too large.
4. Preventing Blurry Instagram Posts
A. Correct Aspect Ratios
Use the correct size before exporting:
Reels: 1080 × 1920
Story: 1080 × 1920
Instagram Post (Portrait): 1080 × 1350 (best for reach)
Carousel: 1080 × 1350
Square: 1080 × 1080
If the wrong ratio is used, Instagram compresses the image and blurs it.
B. Correct Resolution
In Canva:
Before downloading, open the Size slider.
Set the export to 2× or 3× if available for sharper resolution.
Do not upscale from a lower-quality design.
C. File Compression Tips
Always export posts as PNG.
For photos or gradients, JPG is ok — but don’t over-compress.
Avoid screenshots — they degrade quality.
Avoid exporting JPG below 80% quality.
Keep text away from the absolute edges (Instagram auto-crops).
5. When to Use “Save to Folder” vs “Download”
A. Using “Save to Folder” in Canva
Perfect for keeping designs organised.
Use this when:
You want to save the final design inside Canva
You plan to reuse the design later
You want easy access across multiple brand projects
You want to repurpose/export again in a new format
How to use it:
Click Share.
Select Save to Folder.
Choose or create a folder.
Save.
This is perfect for workflows that involve templates, edits, or client work.
B. Using “Download”
Use this when you need the design saved to your device.
Use Download when:
Posting to Instagram, TikTok, Pinterest
Sending a design to a client
Uploading to a website
Saving a video locally
Creating backups
How to download:
Click Share → Download.
Choose your file type.
Export.

-
Personal Instagram Page: @caitlinaarmstrong
Personal TikTok Page: @caitlinaarmstrong_
The Social Voice Instagram: @socialvoice.co
Website: https://www.thesocialvoiceco.com